How to upload video files and captions to Brightspace course content.
Please note before uploading your videos:
- The following file types are supported in Brightspace:: .mp4, .avi, .f4v, .flv, .m4v, .mov, .webm, .wmv, and the ability to optimize for streaming (2GB max)
Step-by-step
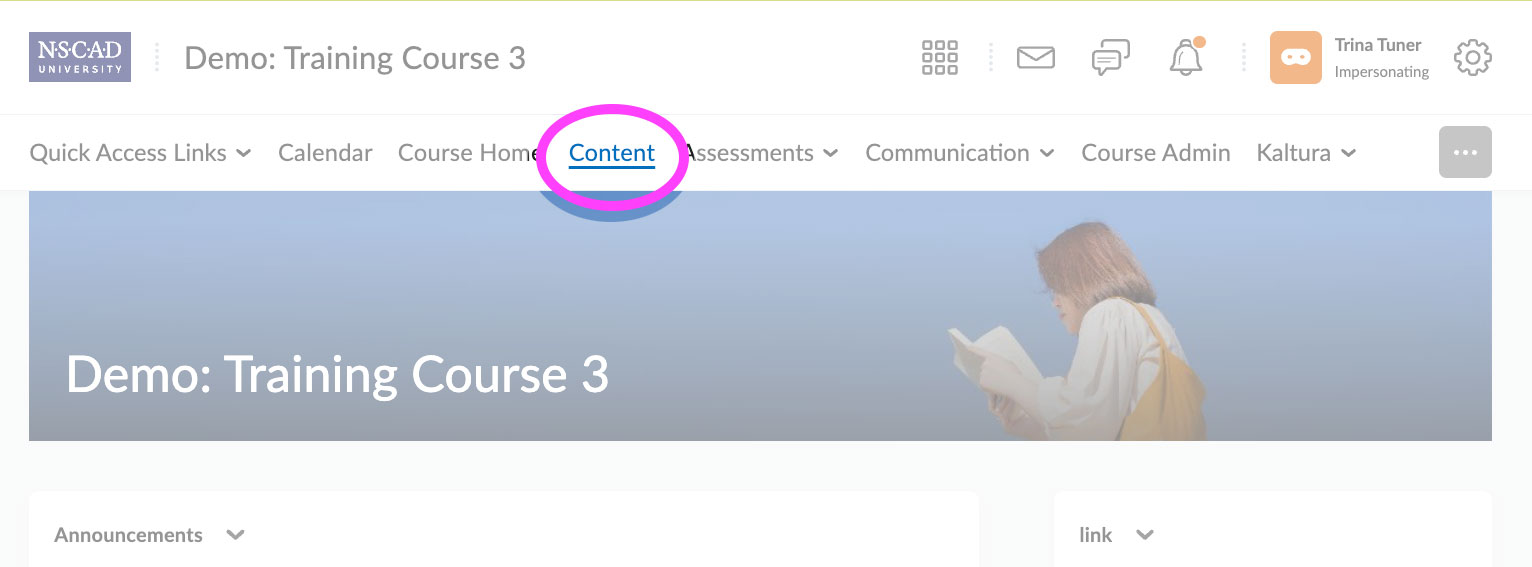
1) In Brightspace go to the Course homepage, on the top of the page click Content
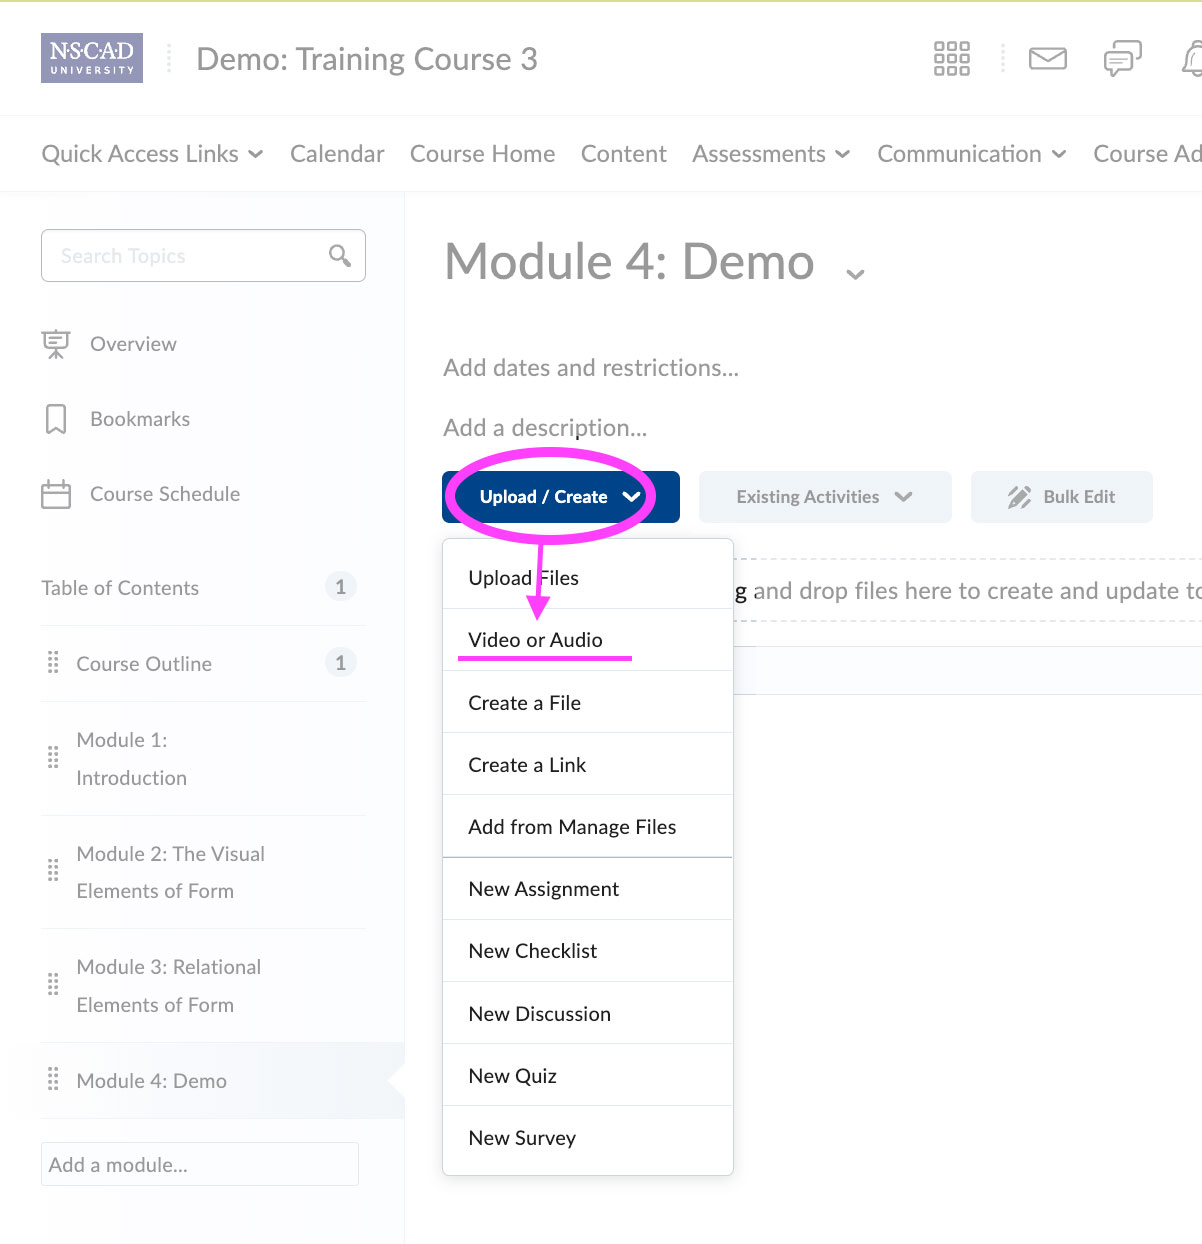
2) Select a Module where your Video will be shared, click on the Upload/Create button and select Video or Audio
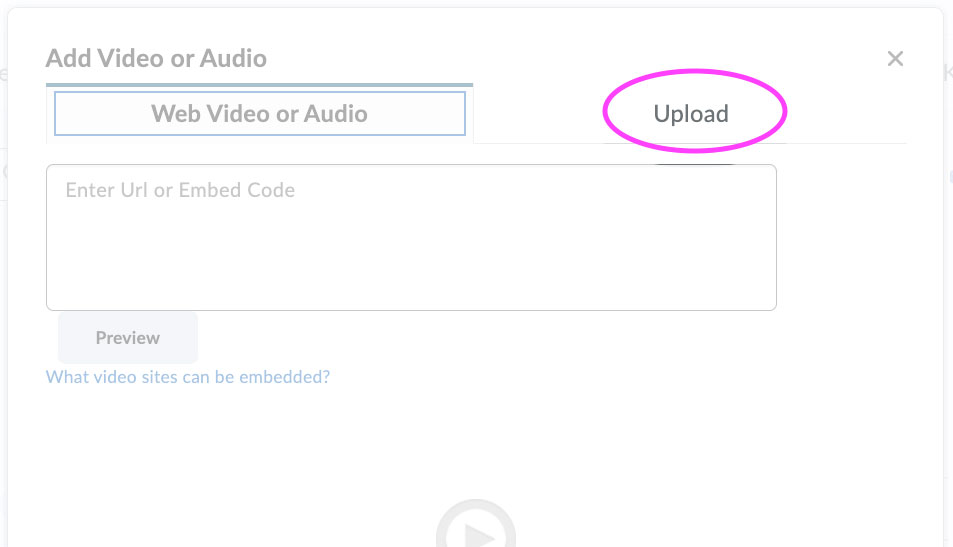
3) In the next screen click on the Upload tab
4) Drop your video file in the designated area or click on the Browse button to select the video file.


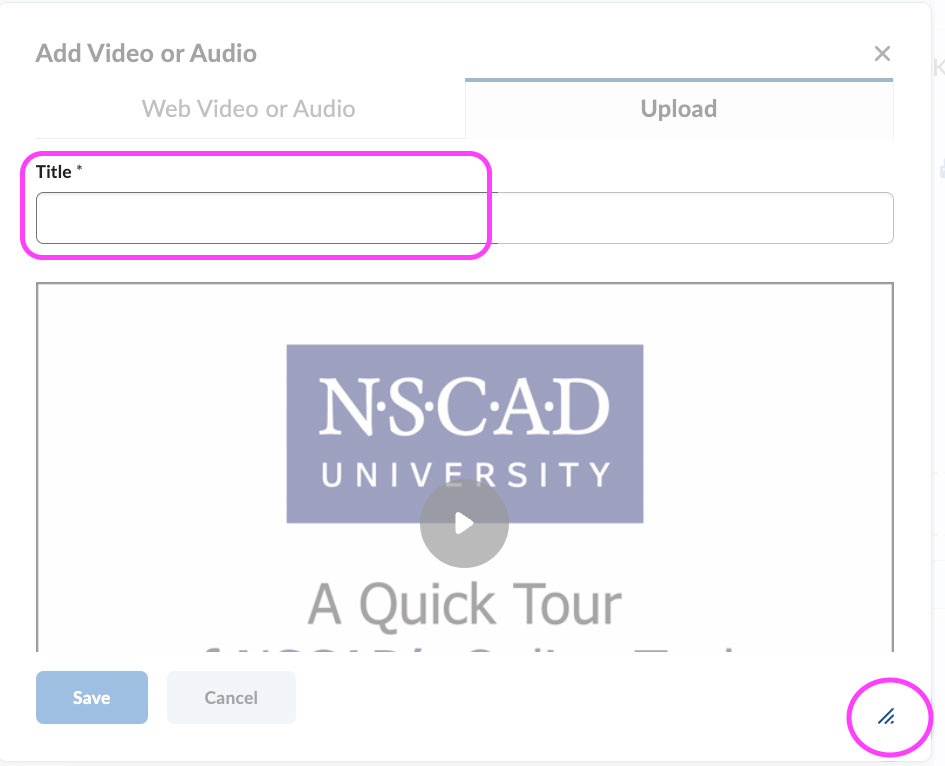
5) Add a video file title. Please also make sure to extend the size of this window using the icon at the bottom right corner of the window.
6) Click on the Advanced Editing text located under the video player. If you do not see the text please make sure to expand the window using the icon at the bottom right corner.
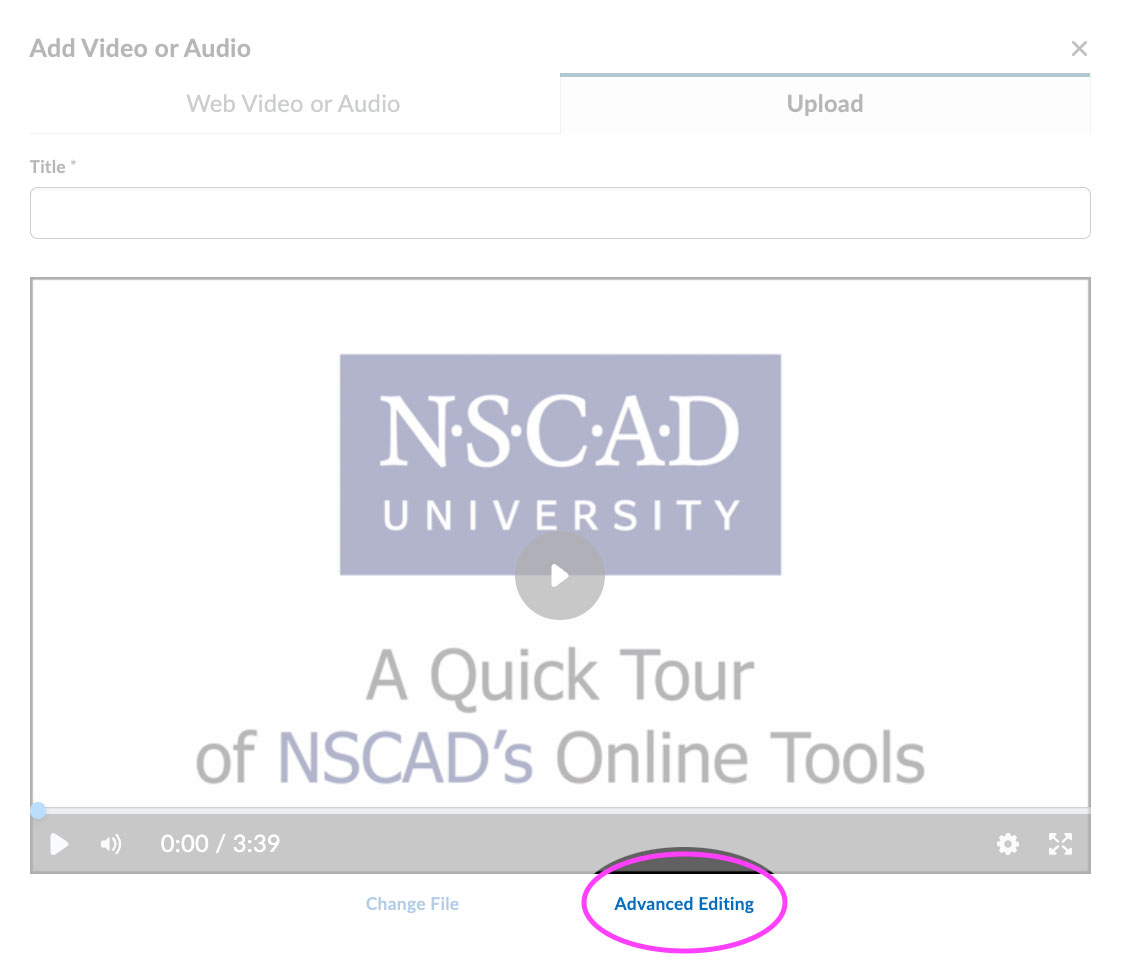
7) At this point you can click on the Optimize for Streaming button, this is recommend. Click on the Closed Captions tab to add the Captions file.

8) Click on the Upload button to add the Captions file.

9) You will notice that captions are not visible, you can make edits to the captions. Click on the Finish button.

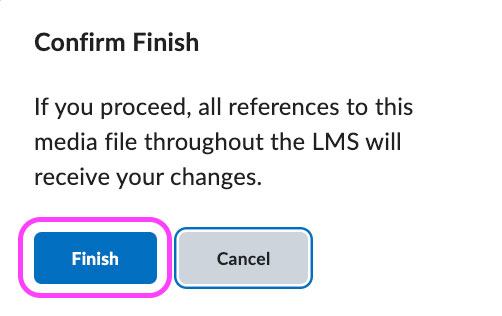
10) Click on the X to exit the video editor.

11) In the next screen click on the SAVE button.

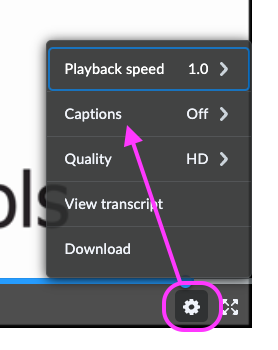
Note: In the video player use the gear icon to enable the Captions file attached to the video
Reference:
Upload, edit, and play audio-video content with Media Player